Prepare a QGIS project for Web
Create your project
Add your data:
Vector geographic data files
ESRI Shapefile
MapInfo TAB and MIF/MID
GeoJSON
etc
RASTER geographic data files
GeoTIFF
Arc/Info ASCII Grid
netCDF
etc
Geographic data base
PostgreSQL / PostGIS
When you create your connection to PostGIS, use the checkbox Use estimated metadata. Be careful, changing this checkbox after you have already added a layer doesn’t change layers already loaded.
MSSQL spatial
Oracle locator / spatial
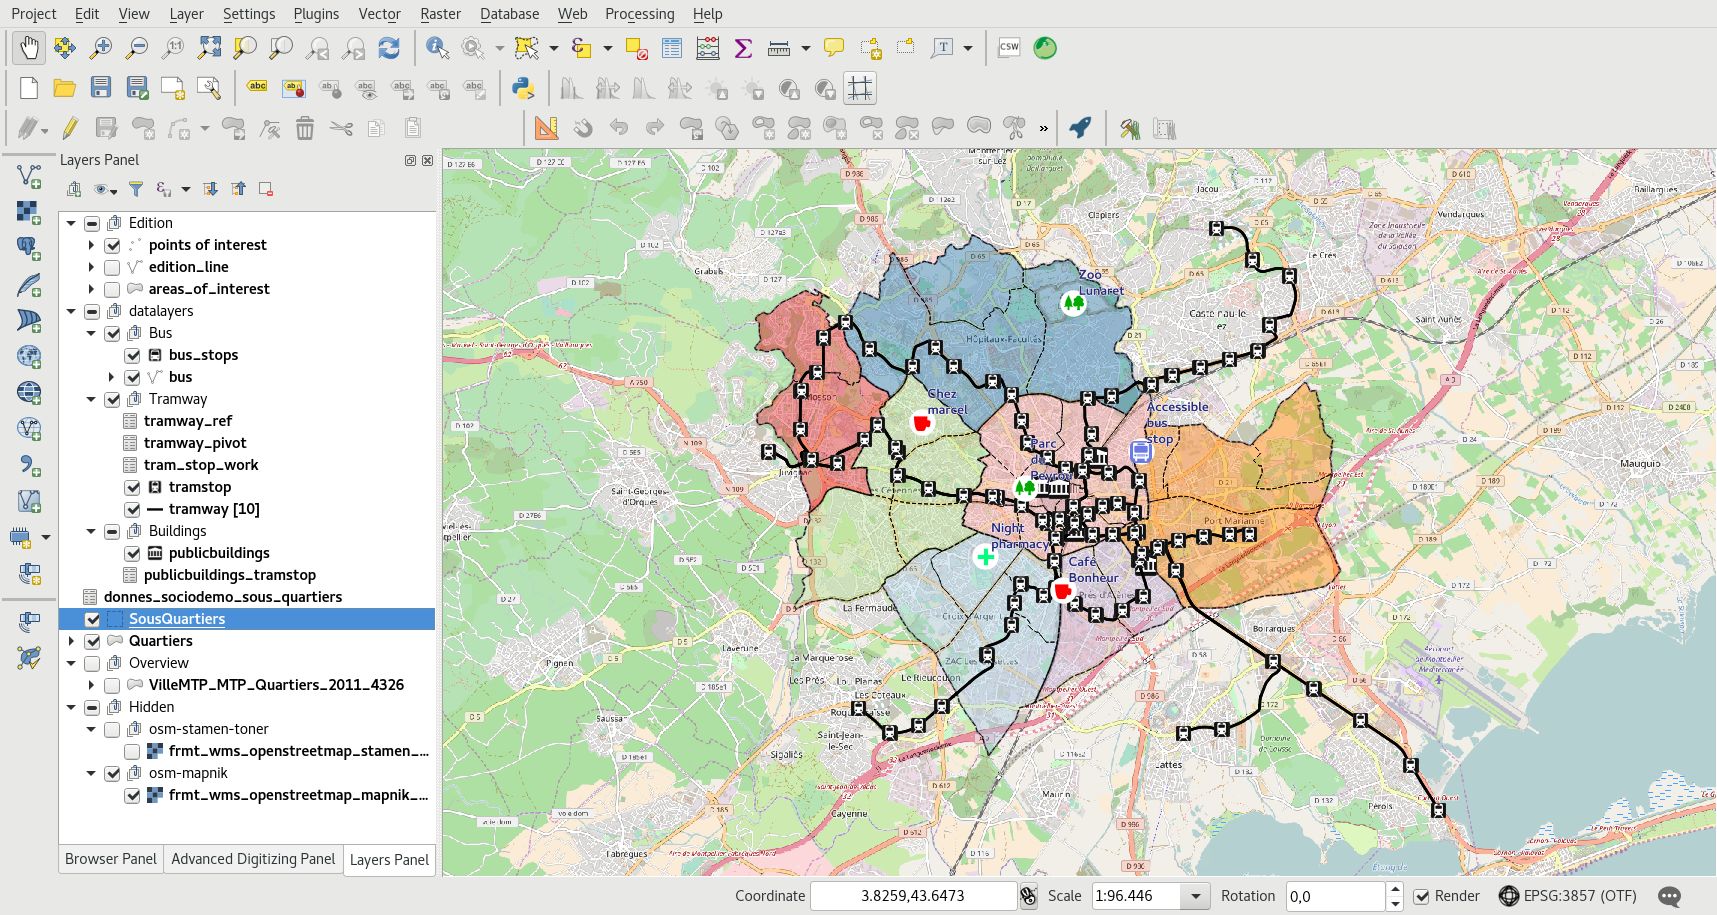
Organize and manipulate the layers in the legend:
Add groups with a right click in the empty part of the legend: Add a new group
Move layers and groups with drag-and-drop
Rename layers and groups with the F2 or the layer properties window
Manipulate the rendering order:
with the legend layer order: the upper layers are rendered above the others.
by specifying layer order with the menu
Add a title to your project and save it in your working directory.
Note
If your layer has more than one style, the user will be able to switch between them through the button Change layer style at the top of the legend.
Set up your project for Web
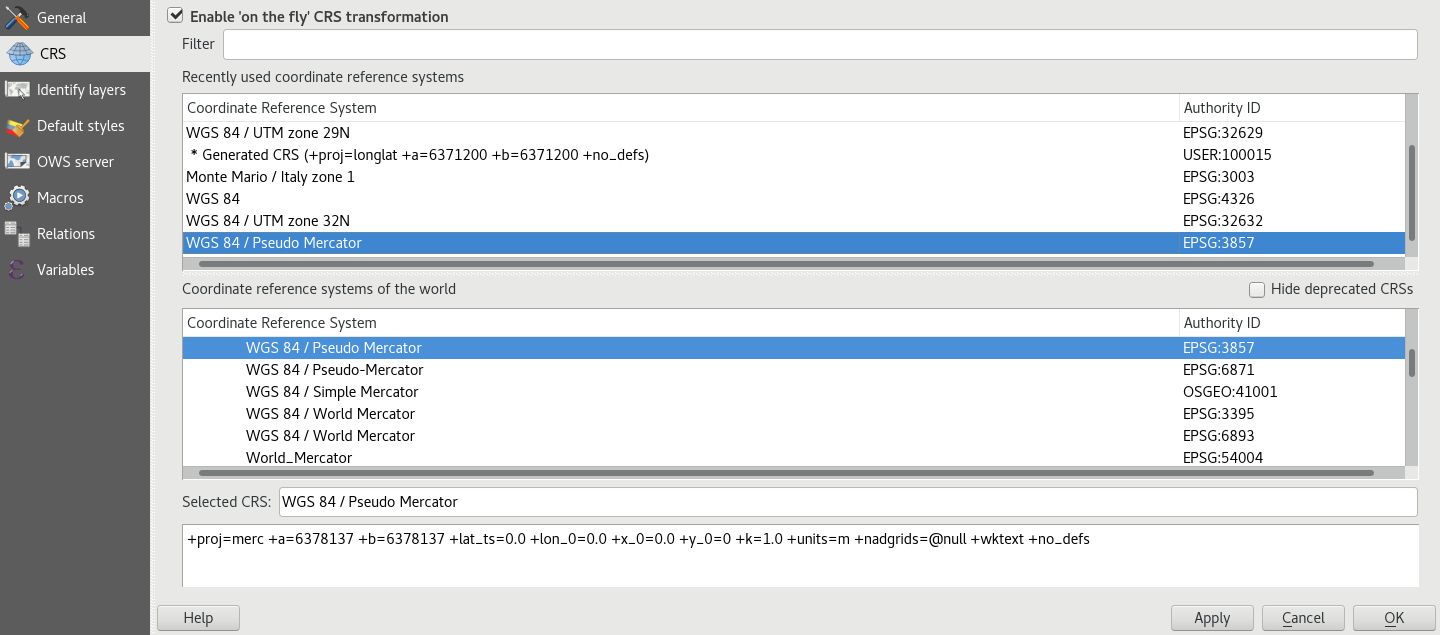
Configure the coordinates reference system, CRS, of your project:
Select the CRS of your Web map:
EPSG:3857 for Google Mercator
EPSG:2154 for Lambert 93
etc
QGIS can reproject raster and vector data.
Configure the Web Geographics Services parameters with the QGIS Server tab:
Set the title of your Web Geographics Services. This title is used in the Lizmap landing page.
Add informations like your organization, the owner of the publication, the abstract, etc
Set the maximum extent of your WMS service
Restrict the CRSs list of your WMS service:
at least select the one used in your project
you can use the button Used to get all the layer CRS and the project one
Exclude compositions and layers if data cannot be published in WMS
Enable the layers you want to publish WFS and WCS

Check that the paths are saved relative in the general tab of the project properties window, access it with the menu or CTRL+SHIFT+P.
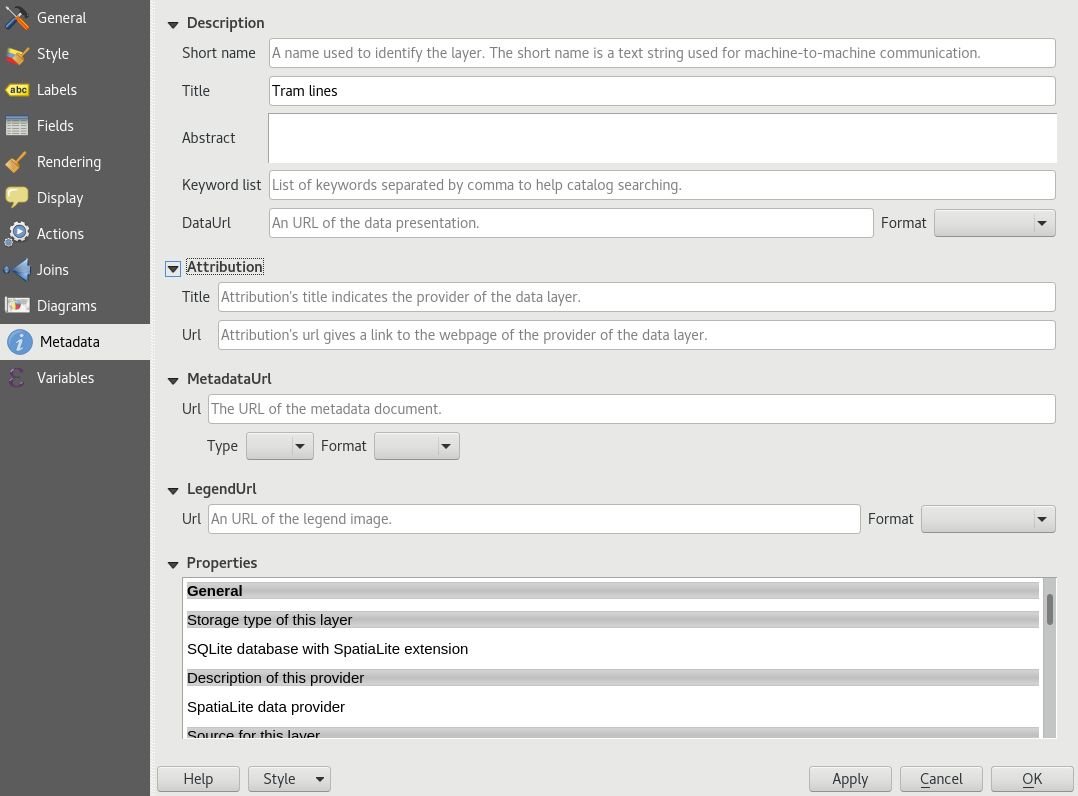
Configure your layers for the Web
In the window allows you to configure a lot of information for Web Geographic Services:
Provide a title, a description and keywords
Specify the attribution to respect the data license
Add the metadata record URL if it’s available
In the window Rendering tab, enable the Simplify geometry and the Simplify on the provider side if possible checkbox too. Note this can be changed in your global settings for layers added later. Read Server side simplification.
Save your QGIS project
Warning
In QGIS 3, it’s possible to save your project in QGZ format or in database (PostGIS/Geopackage).
Lizmap does not support these formats.
You must save your project as QGS extension by doing and not choosing QGZ.
You should save your project as QGS file on your filesystem before opening the Lizmap plugin in the next step.