Manage groups and users in Lizmap Web Client
The groups and users: principles
As an administrator, you can:
create, rename, delete user groups
create, modify, delete users
linking a user to one or more groups
Note
Rights on Lizmap Web CLient repositories are managed at group level, not at the user level.
Manage Groups: create, rename, delete
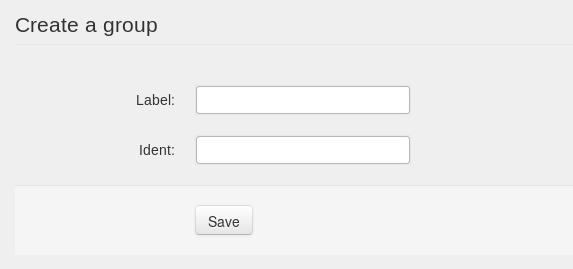
Create a group: In the left menu click on Groups of users for rights and scroll down to Create a group.
Define the label: it is possible to use spaces and accents
Define the ident: one word without special characters
In the page Groups of users for rights, it is also possible to Change the name and Delete a group.

Note
The users group is a group system to give the rights to authenticated users to edit their own user information including passwords. We excluded this group of Lizmap Web Client configuration because all identified users must be part of this group.
Manage Users
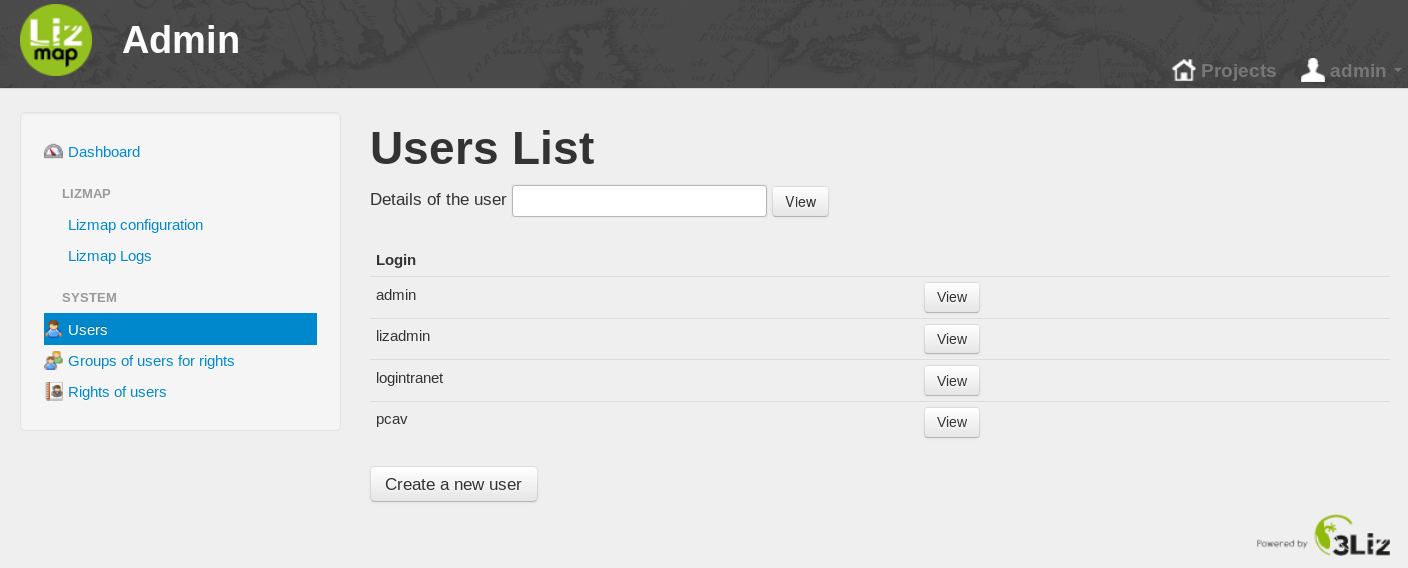
Create a user : In the left menu click on Users and click on the button Create a new user:
give a Nickname which will be used for the login
give an email
define and validate the password
set name and firstname
it is also possible to view and edit informations about users
Warning
Once users created, you must put them into groups to assign the associated rights.

Putting users in groups
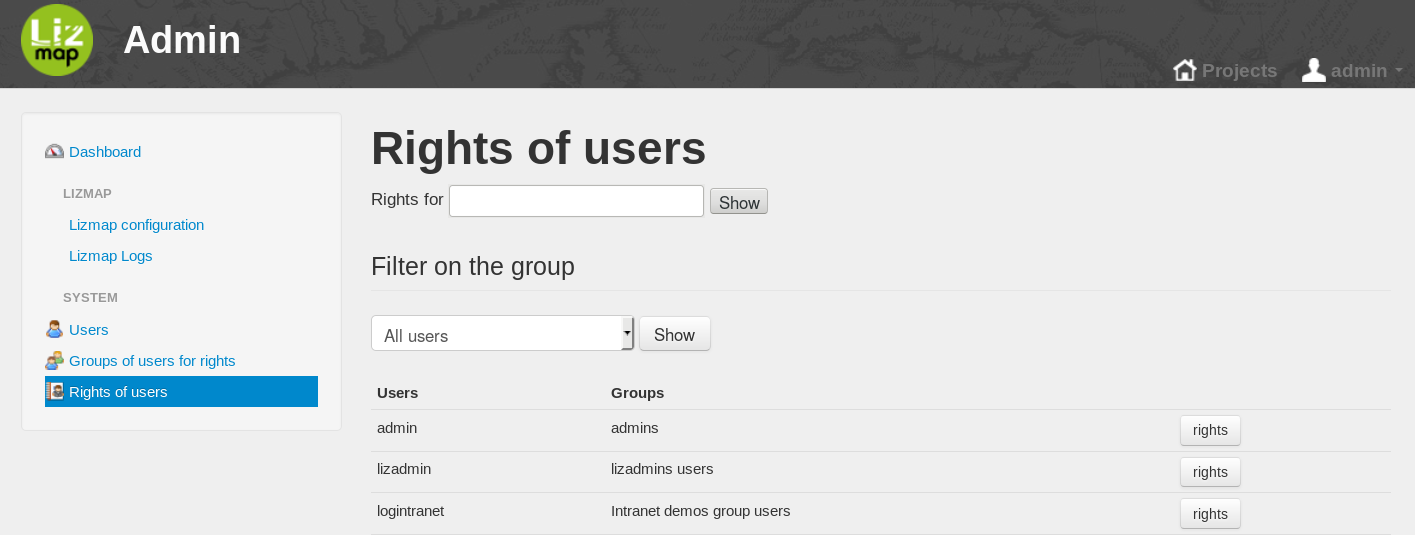
In the left menu click on Rights of users
it is possible to filter the visible users with the dropdown menu
to put a user in groups, click on the its button rights
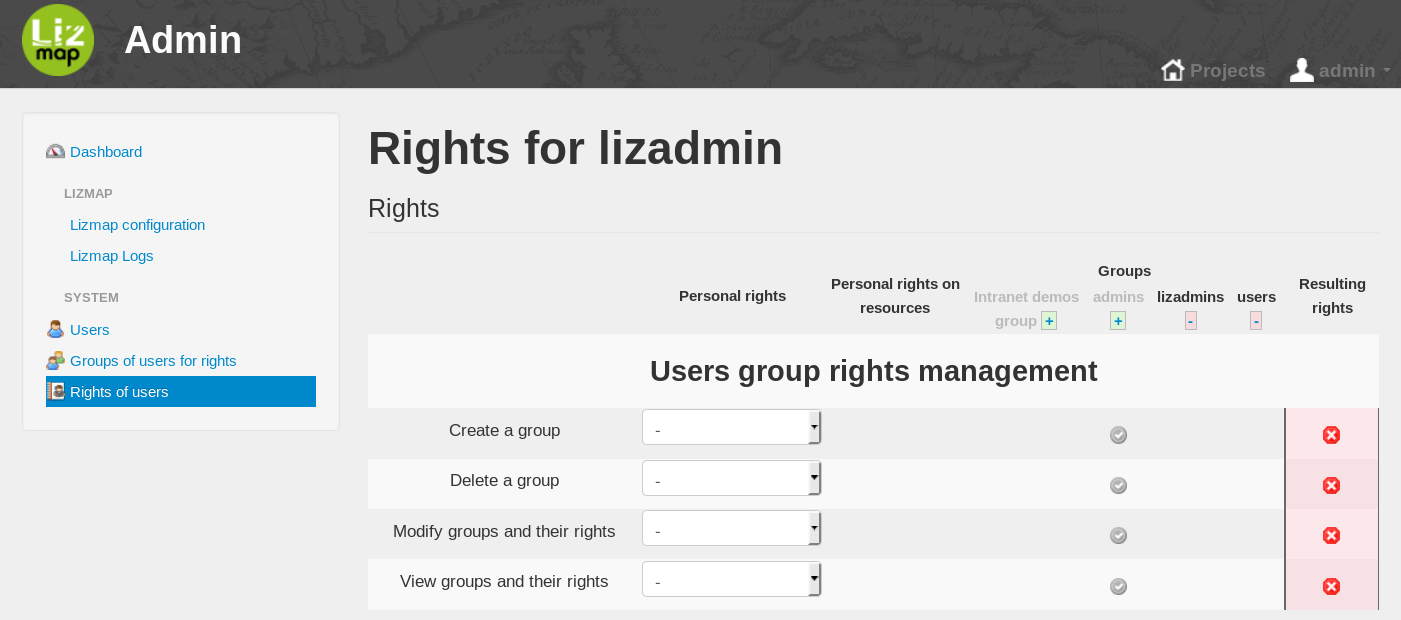
The page displays a table with rights online and groups on column
The last column shows the resulting rights
In the head row, the + and - buttons allow to set / remove the user from a group
Warning
Do not use the Personal rights column.
Assigning groups for each user created


