Configure seu projeto para o Lizmap
Instalar o plugin Lizmap
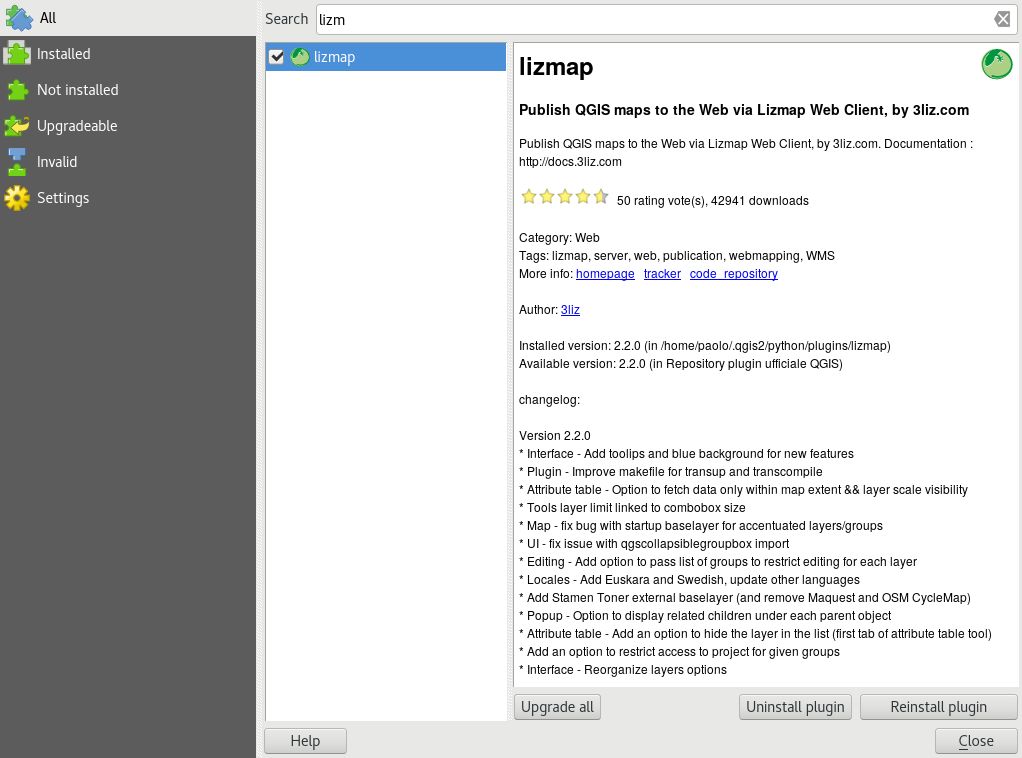
The Lizmap plugin is available through the official QGIS project repository: https://plugins.qgis.org/plugins/lizmap/
Para instalá-lo, basta fazer como para qualquer plugin QGIS:
Search
LizmapInstalar o plugin
Está disponível no menu e na barra de ferramentas
Aviso
Lizmap QGIS plugin is regularly updated. To enjoy new features or before reporting a bug, be sure to update your plugin. In , check that QGIS will check for updates on a regular basis automatically.
The plugin is organized in 13 tabs:
Information: some information about the Lizmap project and your servers
Map options: the general options of the map
Layers: the options of each layer
Baselayers: the baselayers used on the Web
Locate by layer: the locating tool
Attribute table: configure the attribute table and the vector selection
Layer editing: which layer can be edited with Lizmap
Tooltip layers: configure the tooltip for some layers
Filter layer by user: setup some filtering based on the current logged user
Dataviz: add some charts and dataviz
Time manager: play an animation based on date or datetime field
Atlas: setup an atlas for the project
Filter data with form: Make some filtering based on attributes
Log: displays information of performed actions
And it has 5 action buttons:
Auto-save : When ever you click on Apply or Ok if Lizmap should save the QGIS project too at the same time
Help : open the help in the webbrowser
Apply : write the configuration in the Lizmap file and keep the dialog open
Ok : write the configuration in the Lizmap file and close the dialog
Close : close the dialog without writing the configuration